

Starting from scratch, I want the very most basic tutorial for adding movement to a blender creation.
Start with a cylinder and add an armature so it can bend this way and that. Here is a tutorial showing exactly this.
Start by deleting all the default object in a new scene by clicking A and then delete.
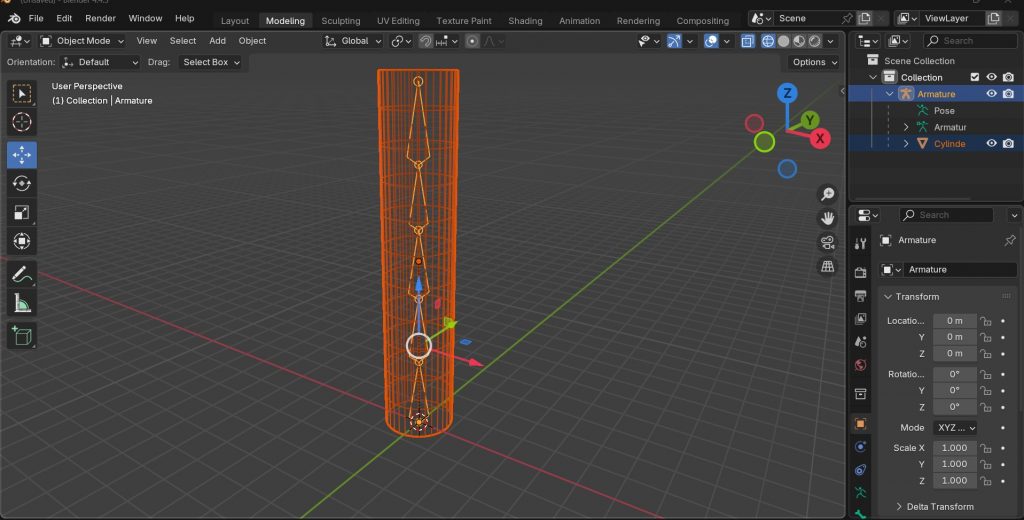
Object mode, shift A choose mesh, then cylinder. scale it 5 on its y axis so its tall. Then TAB to get into object mode, and with cylinder selected, hit ctrl + R, hover over the middle of the cylinder so you see the ring where it will divide, double click that ring and it will divide right there and pop up a lil menu in the lower left. Loop cut and slide, in that lil menu make number of cuts up to 10. Choosing wireframe mode for your viewport shading shows the sections well. Now you have a sectioned cylinder. Adding armature is next.
In object mode, with cylinder selected, shift A to bring up the add menu, choose armature. This puts one bone centered, the head of the bone is the fat side, this is where it pivots from. Now Tab to go to edit mode, select that armature, specifically the knob at the little end of that first bone, hit E to extrude, and hit Z so it snaps to the Z axis which is the direction of the tallness of our cylinder. Use the mouse to get the next bone tot he right length and left click when you like where it is. Hit E to extrude another and Z to stay along the Z axis, left click to end the bone. Repeat until you have enough bones.
So we’re about halfway through that youtube video, 5:55, now to parent the armature to the cylinder. So first select the mesh, THEN the armature, order of selection matters. Once both are selected, hit ctrl + P, choose the Object with automatic weights.
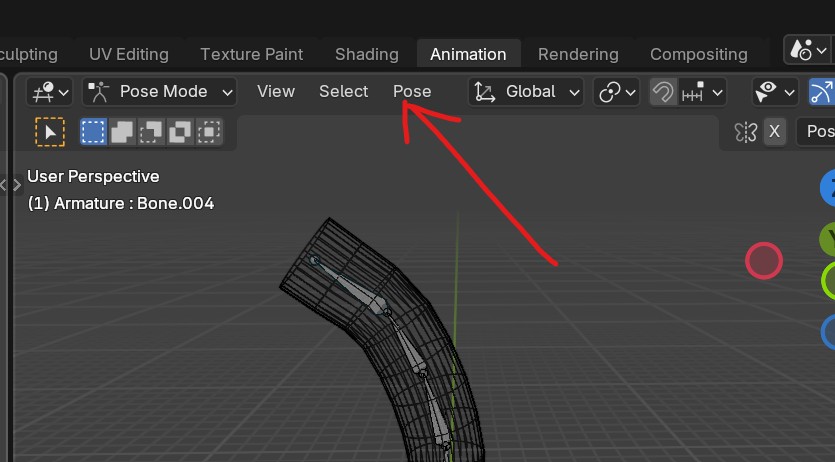
Next we’re going to move the cylinder according tot he armature we just parented to it, with the automatic weight. So choose ANIMATION from the top level menus. Then select the armature and when it is selected, in the upper left menu where was object and edit mode now also is pose mode. Choose pose mode.
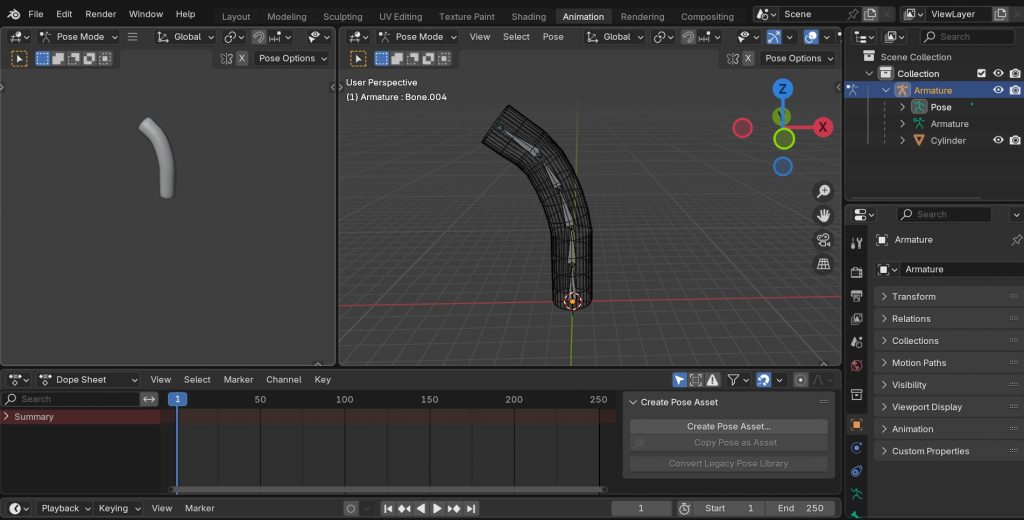
Now chose each bone, or hit number pad buttons if that works…, and then with a bone selected, hit R to move it around. with that bone selected, when you hit r, you’ll see the arrow for side to side, hit R again to get more rotation on that bone, the arrow changes and you can move it differently. Remember, armature bones are hierarchical, starting with that first bone, then extruding from there.
You can reset the pose by selecting entire armature and choosing Pose there in the top middle, Clear transform, All
Suppose you want to edit the way it bends, and the effect each bone has on and where. Go into LAYOUT on top level, and drag select the cylinder and armature. Then drop down Object mode to choose weight paint.
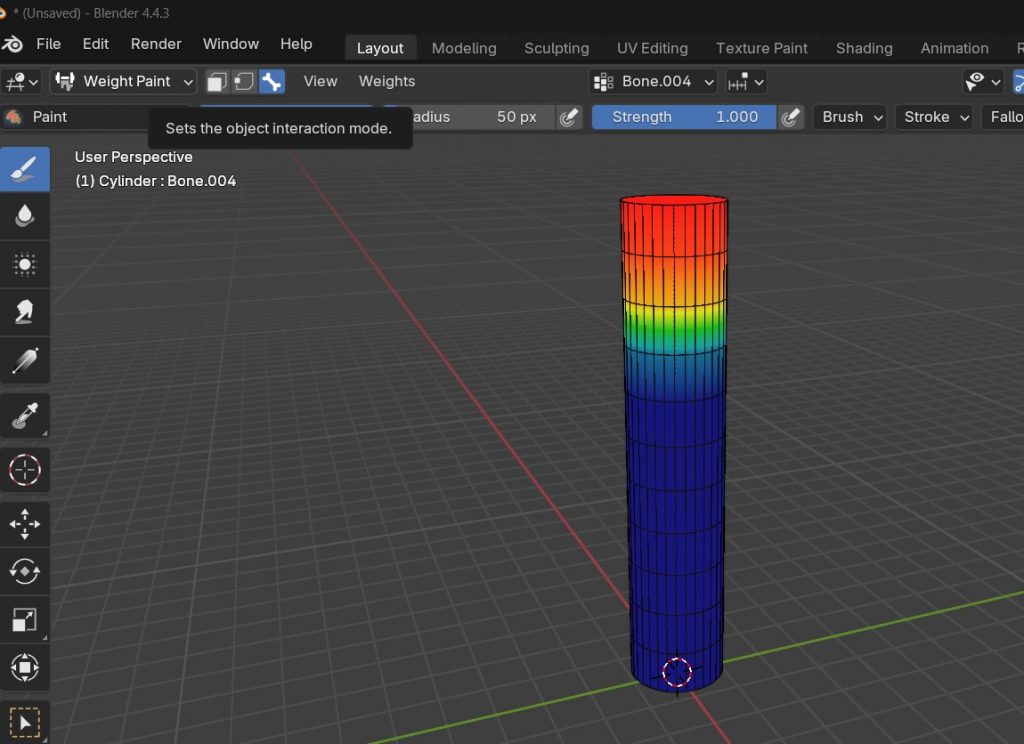
Now we’ll select each bone and paint where it affects in red and where it doesn’t in blue. Move onto next bone and do the same. In this way you can customize the movement affect of each bone in the armature.
No Responses