

Ok here’s the guy I’m following on this one… he does a lion head, we wanted to do a cat… start with an ornament
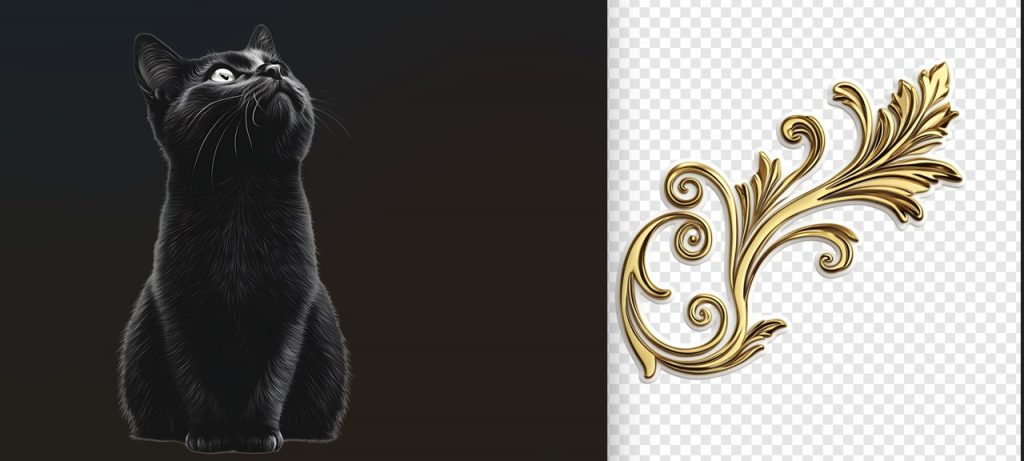
So you get a good image and remove background, save it as png
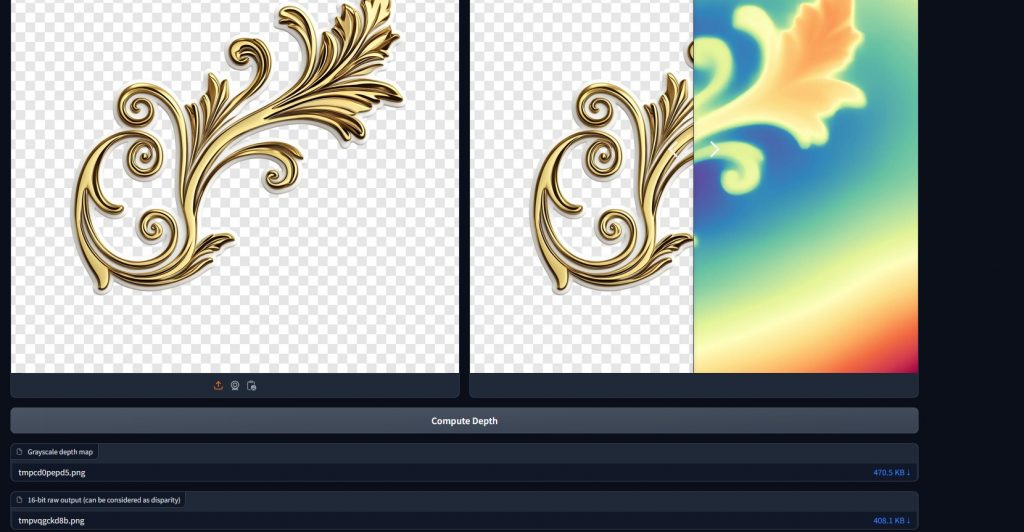
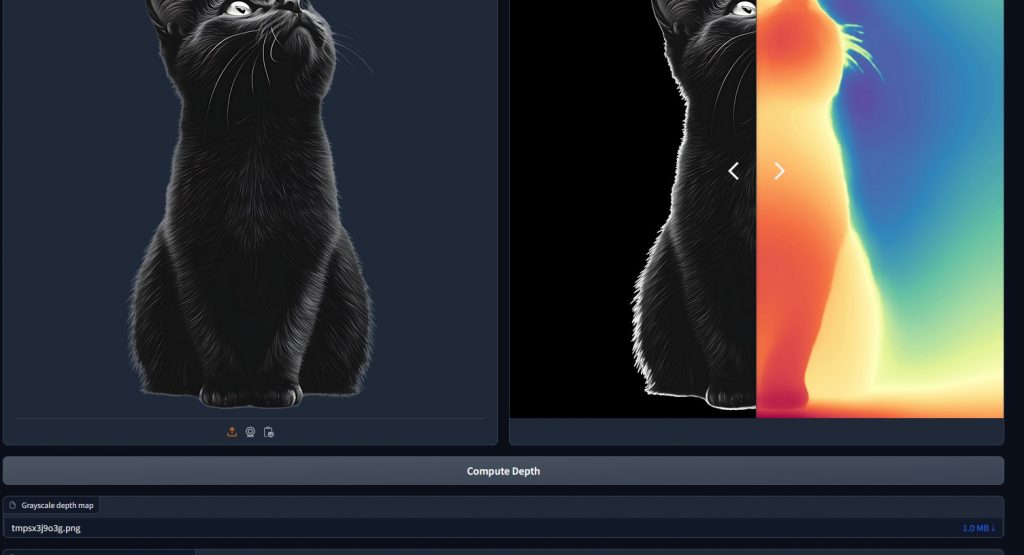
Then you have take it into this next linked site to create a depth map of it… the image should link you to it
If not, it’s in the description of the youtube vid, it’s called depth anything v2

see at the bottom, compute depth, click that and voila. Below the picture, see the grayscale map, download that one….
Following the video, add a plane in blender, right click on the plane and choose subdivide, change that top number to 30,
on the left, with the plane selected still, go to the lil wrench and a dd a new modifier, deform, displace, click on the icon that looks like two lil pills, that’s where you add the picture’s grayscale heatmap you just downloaded.
Also it seems like nothing is happening until you go to object mode…if you are in edit mode you just see the grid. object mode you see your shape.
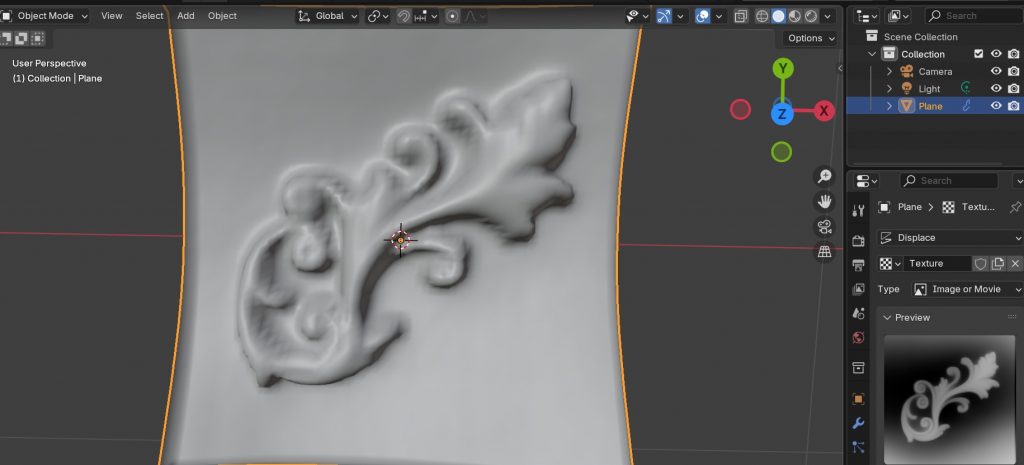
once the picture is there as your texture, click on that lil wrench again and adjust the strength of this modifier. You can go negative a lil to look embossed …. you can now make any 2d image into a 3d object with real depth
Now how to separate it from the background and make it a thing
here’s the next one I’m following, he starts with a very black and white image but a very precise and clean process and result.
No Responses